
Microsoft Sentinel Agent for SAP Deployment Guide on OpenShift

This guide provides detailed steps for deploying the Microsoft Sentinel agent for SAP on an Azure Red Hat OpenShift cluster. It covers the creation of the necessary resources in Azure, environment configuration, and deployment of the Connector Agent for SAP.
1. Creating an Azure Red Hat OpenShift (ARO) Cluster
Start by setting up an Azure Red Hat OpenShift (ARO) cluster where the SAP agent will be deployed (Azure Marketplace > Azure Red Hat OpenShift cluster).
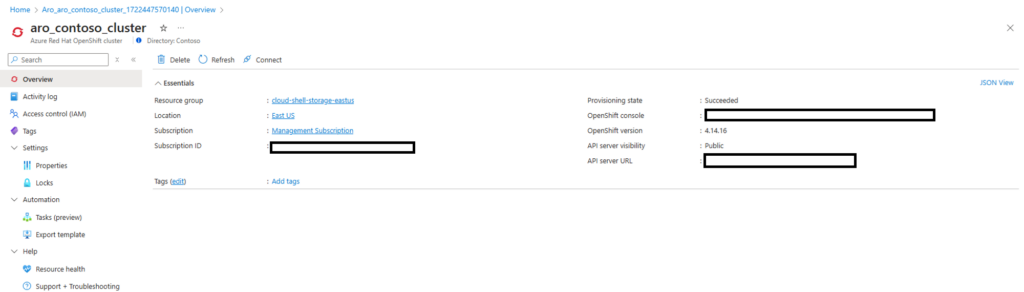
IMG 1: Provisioned Azure Red Hat OpenShift Cluster.
2. Creating a Service Principal
Create a Service Principal to access the Secrets that will be generated in the Key Vault (App Registration > Create App Registration):
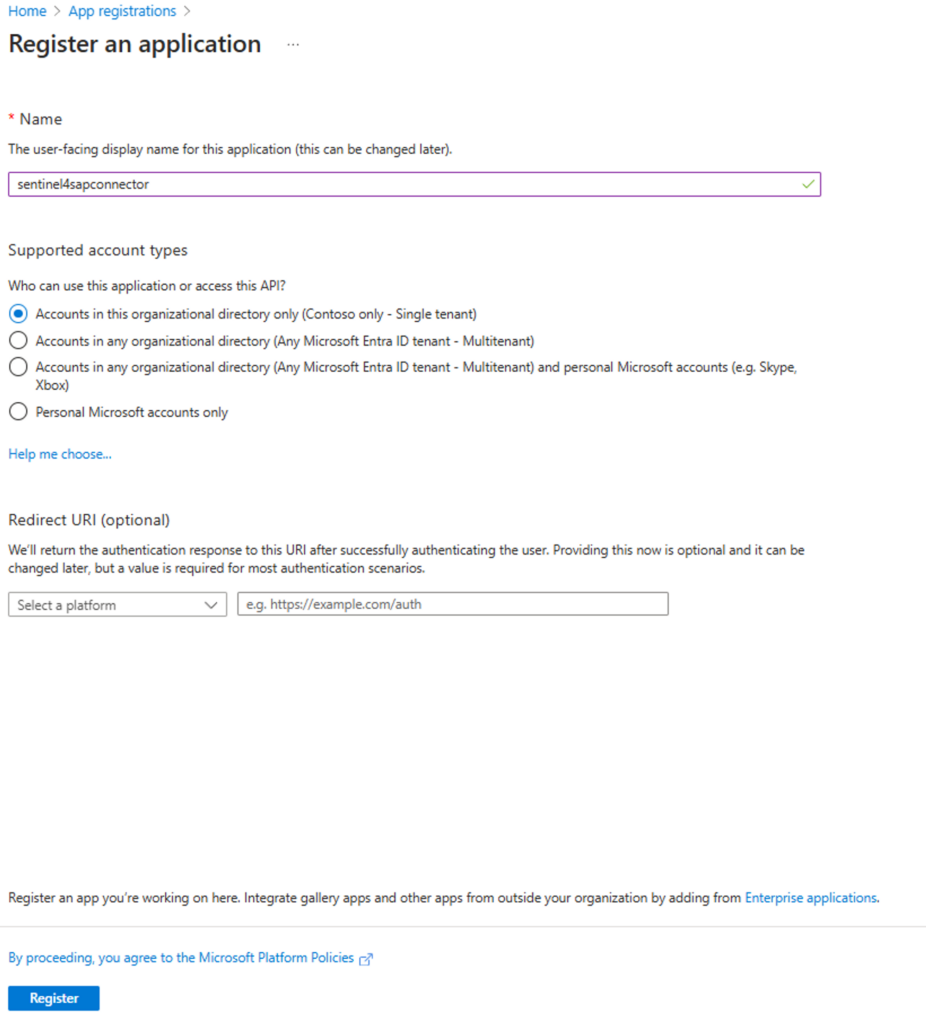
IMG 2: Service Principal Creation.
3. Creating an Azure Key Vault
Create an Azure Key Vault to securely store the secrets required for the SAP agent.
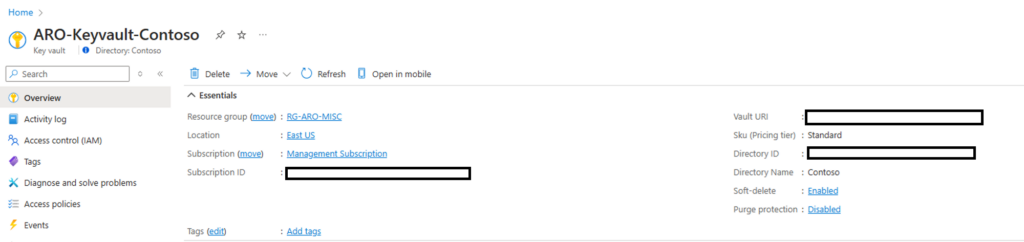
IMG 3: Provisioned Azure Key Vault.
3.1 Storing Secrets in Azure Key Vault
In the Key Vault (Objects > Secrets), create secrets using the following naming conventions:
<SID>-ABAPUSER: The username created in SAP for the agent.<SID>-ABAPPASS: The password for the SAP user created.<SID>-LOGWSID: The Log Analytics Workspace ID for Sentinel.<SID>-LOGWSPUBLICKEY: The Access Key for the Log Analytics Workspace.
Note: This step is only necessary if you proceed with the direct deployment (without using the Kickstart Script).
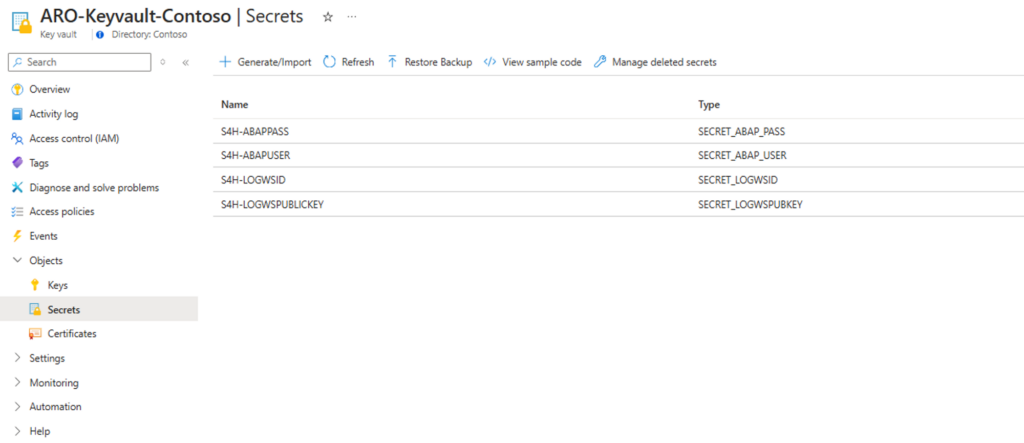
IMG 4: Secrets generated in the previously created Key Vault.
3.1 Configuring Access Control in Key Vault for the Created Service Principal
To allow the Service Principal to access the created Key Vault, the Key Vault Secrets User role must be assigned to the created SP (Access Control > Role Assignment).
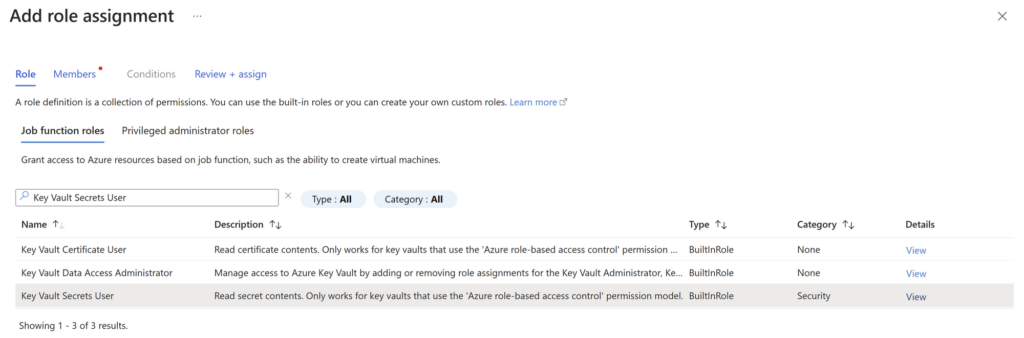
IMG 5: Role Configuration in Key Vault IAM for the Created Service Principal.
4. Creating a Storage Account
Set up a Storage Account to store the files and configurations required for the SAP agent.
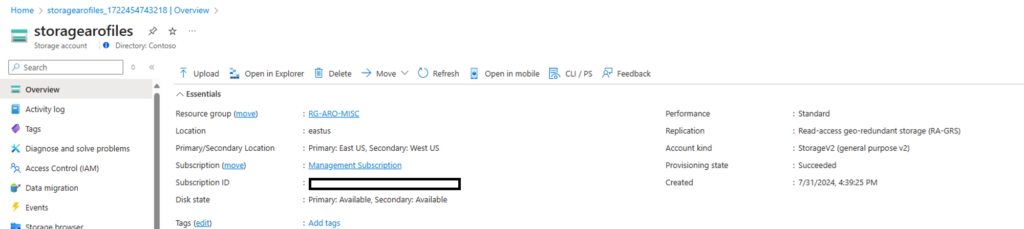
IMG 6: Provisioned Storage Account.
5. Configuring a Container in the Storage Account
To store the necessary files for the Pod deployment, a container will need to be created in the Storage Account, as shown below:
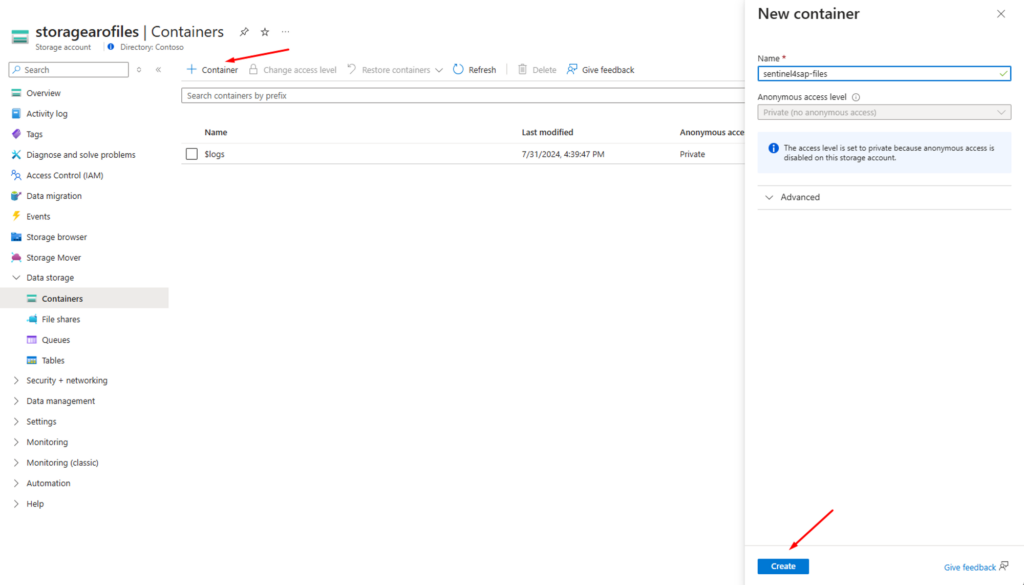
IMG 7: Creating a Container in the Storage Account
6. Upload of Required Files to the File Share
6.1 Download the SAP NW RFC SDK
Download the SDK from the SAP Launchpad website at the following path:
- SAP NW RFC SDK > SAP NW RFC SDK 7.50 > nwrfc750X_X-xxxxxxx.zip.
6.2 Upload the SDK to the Container
Upload the downloaded SDK to your Container in the Storage Account.
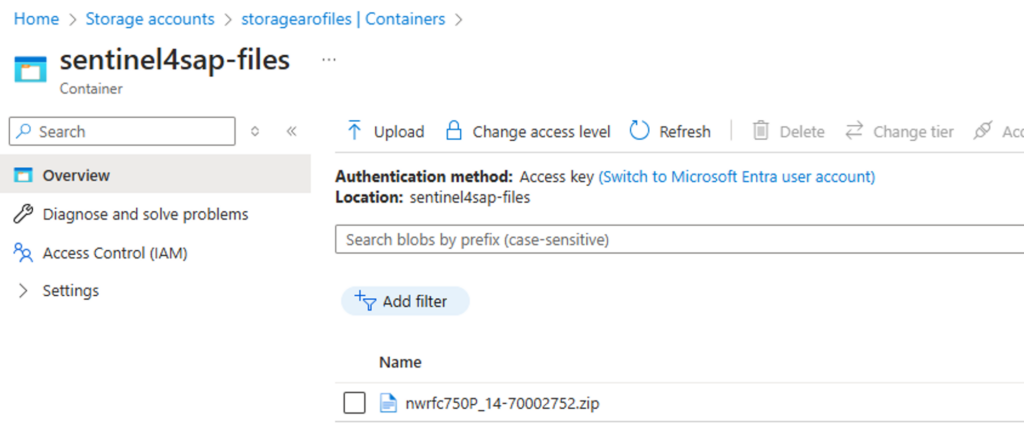
IMG 8: SDK Upload to the Container in the Storage Account.
6.3 Modifying the systemconfig-template.json
Download and edit the systemconfig-template.json file (Template link: systemconfig-template.json) to match your environment’s configuration. Ensure that the details related to the SAP system, such as connection parameters, are correctly configured.
For the “GUID_here” field, generate a GUID to sign the configuration file using a tool like the Guid Generator: Free Online GUID Generator. Copy the value and insert it into the JSON file.
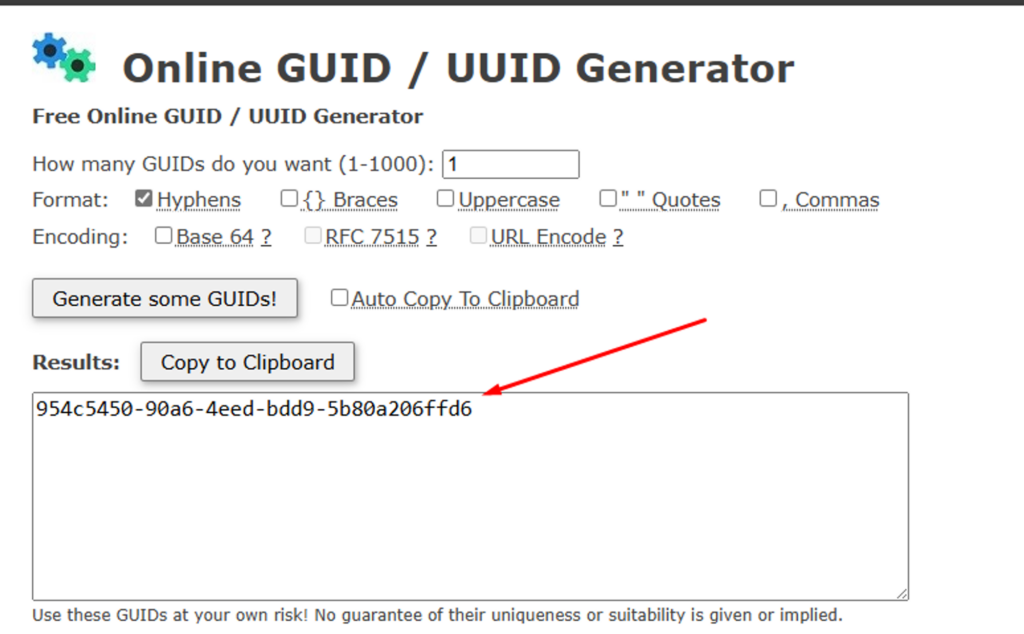
IMG 9: GUID Generation for Signing the JSON.
For the “timestamp,” collect the current Timestamp by accessing a tool like Unix Timestamp: Unix Time Stamp – Epoch Converter:
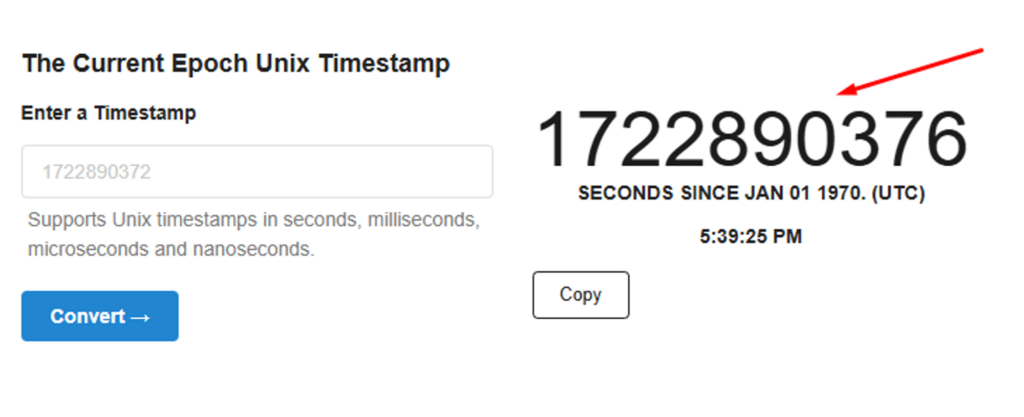
IMG 10: Collection of the UNIX timestamp for signing the JSON.
Modify the remaining fields such as: intprefix, keyvault, ashost, sysnr, client, and sysid according to the values related to your environment.
Rename the file from systemconfig-template.json to systemconfig.json and upload the generated systemconfig.json to the Container in the Storage Account.
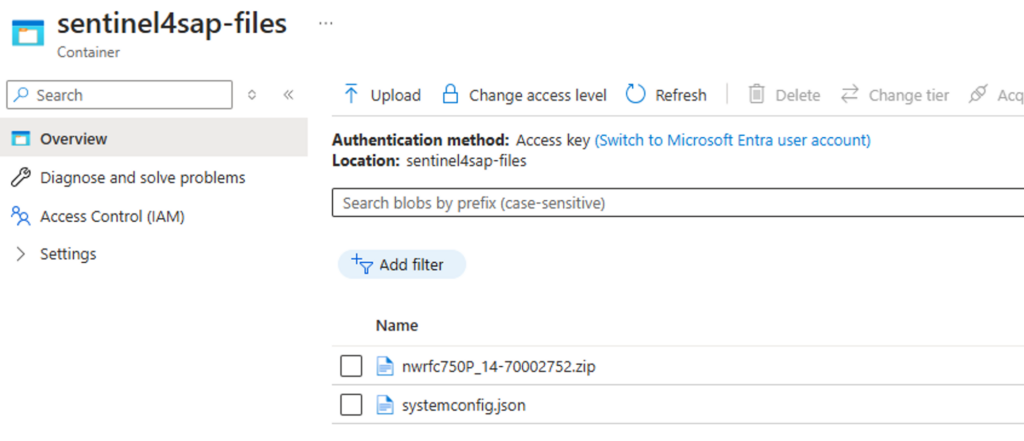
IMG 11: Upload of systemconfig.json to the Container in the Storage Account.
6.4 Generate the SAS URLs for each of the files in the Container
To ensure the files can be added to the Pod that will be created, it’s necessary to generate the SAS URLs:
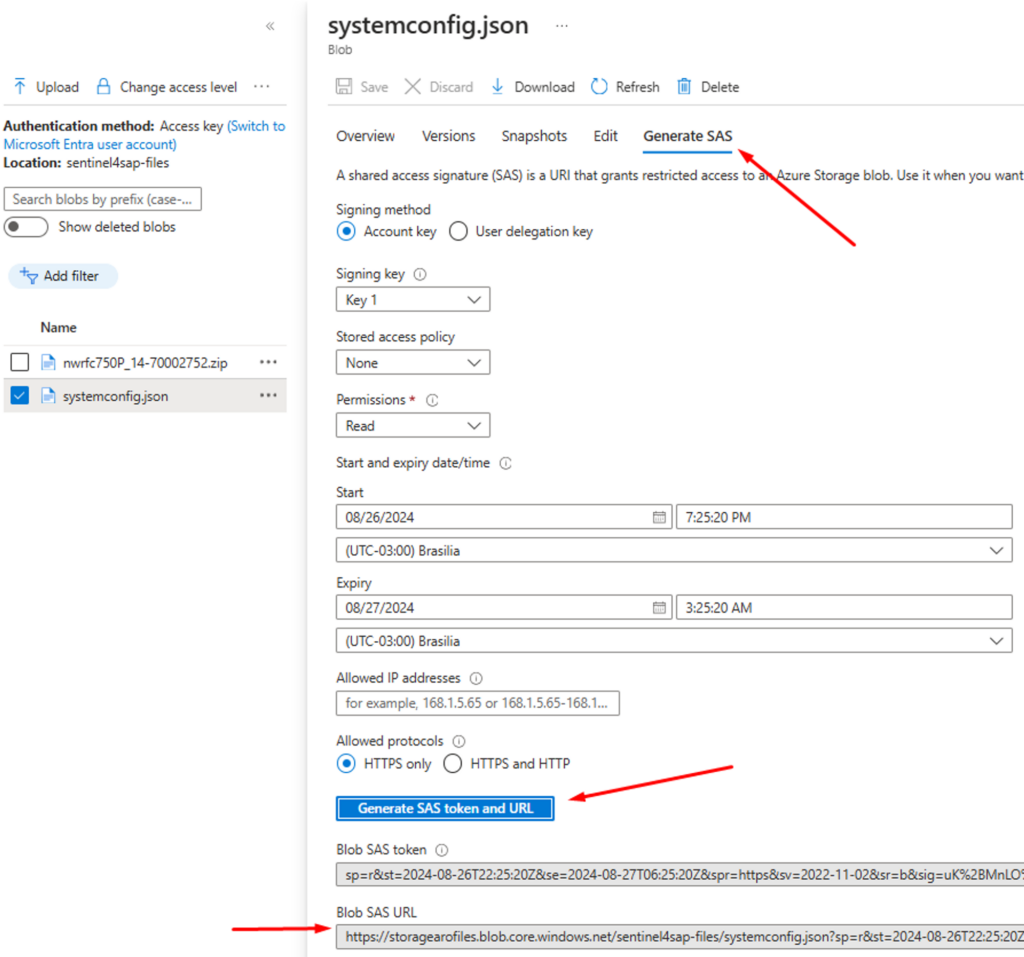
IMG 12: Generating the SAS URLs for the files in the Container
11. Creating the Pod
Proceed to the creation of the Pod using the YAML file available at this link. Replace the values, such as Namespace, SAS URLs, and file names, to reflect the data specific to your environment.
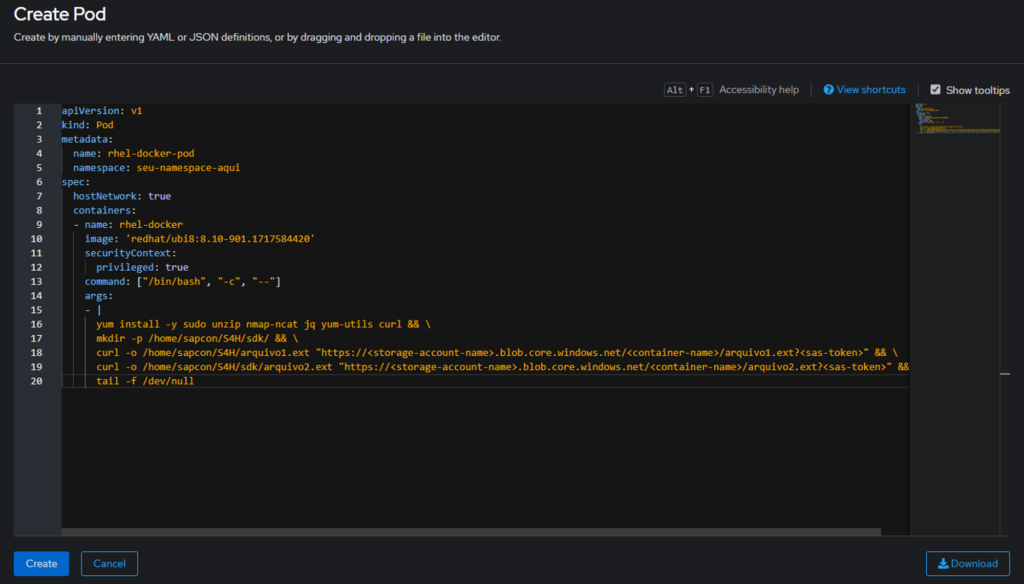
IMG 13: Pod Creation with the YAML.
YAML configuration for the Pod:
apiVersion: v1
kind: Pod
metadata:
  name: rhel-docker-pod
  namespace: your-namespace-here
spec:
  hostNetwork: true
  containers:
  - name: rhel-docker
    image: 'redhat/ubi8:8.10-901.1717584420'
    securityContext:
      privileged: true
    command: ["/bin/bash", "-c", "--"]
    args:
    - |
      yum install -y sudo unzip nmap-ncat jq yum-utils curl && \
      mkdir -p /home/sapcon/S4H/sdk/ && \
      curl -o /home/sapcon/S4H/systemconfig.json "https://<storage-account-name>.blob.core.windows.net/<container-name>/arquivo1.ext?<sas-token>" && \
      curl -o /home/sapcon/S4H/sdk/file2.zip "https://<storage-account-name>.blob.core.windows.net/<container-name>/arquivo2.ext?<sas-token>" && \
      tail -f /dev/null
12. Deploying the Connector Agent
12.2 Pod Model 2 – Without Using the Kickstart Script:
Access the Pod terminal and navigate to the local directory where the files for the connector deployment are located:
cd /home/sapcon/S4HRun ‘vi’ to open a text editor and create an env.file that will be used to store the variables of the created Service Principal:
vi env.fileEnter the following information in the text editor:
##############################################################
# Include the following section if you are using Azure Keyvault
##############################################################
# env.list template for AZ Cli when MI is not enabled
AZURE_TENANT_ID= YOUR-TENANT-ID
AZURE_CLIENT_ID= THE-SERVICEPRINCIPAL-AppID
AZURE_CLIENT_SECRET= THE-SERVICEPRINCIPAL-Secret
##############################################################
Run the Docker Pull command for the Connector Agent image:
docker pull mcr.microsoft.com/azure-sentinel/solutions/sapcon:latest-previewAnd then run the Docker command: ‘docker run’ :
docker run --env-file=/home/sapcon/S4H/env.list -d --restart unless-stopped -v /home/sapcon/S4H/:/sapcon-app/sapcon/config/system -v /home/sapcon/S4H/sdk:/sapcon-app/inst/ -e SENTINEL_AGENT_GUID=$(uuidgen) --name sapcon-S4H sapcon13. Configuring Roles for Automatic Attack Disruption for SAP
For using Automatic Attack Disruption for SAP, it is necessary to add two Roles (Microsoft Sentinel Business Applications Agent Operator & Reader) to the Service Principal generated by the container (This SP is not the same as the one previously created for Key Vault access).
First, retrieve the Agent GUID from the created container by running the following command in the Pod terminal:
docker inspect sapcon-S4H | grep -oP '"SENTINEL_AGENT_GUID=\K[^"]+'The container’s GUID will be displayed as shown in the image below; copy the identifier:
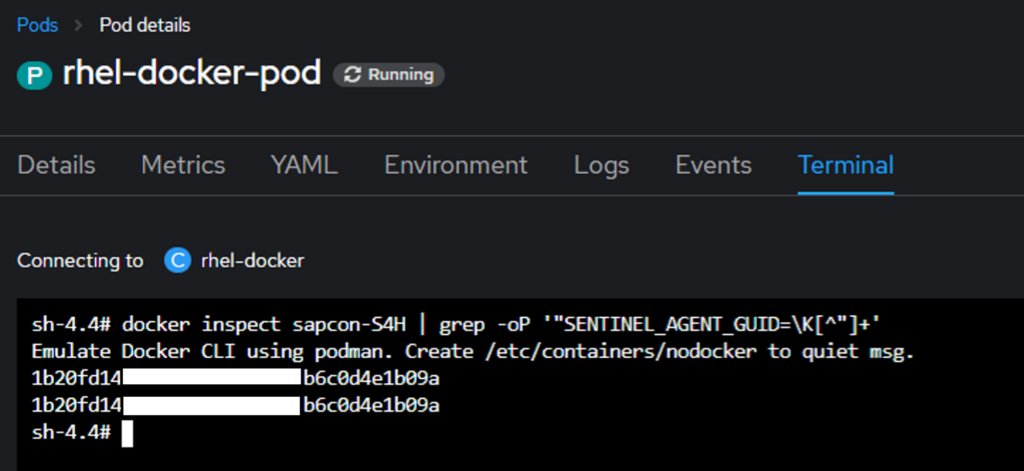
IMG 14: Provisioned Agent GUID.
Finally, using Azure CLI, run the following script, replacing the values with those corresponding to your environment:
az role assignment create --assignee-object-id  --role "Microsoft Sentinel Business Applications Agent Operator" --assignee-principal-type ServicePrincipal --scope /subscriptions/<SUB>/resourcegroups//providers/microsoft.operationalinsights/workspaces//providers/Microsoft.SecurityInsights/BusinessApplicationAgents/

az role assignment create --assignee-object-id  --role "Reader" --assignee-principal-type ServicePrincipal --scope /subscriptions/<SUB>/resourcegroups//providers/microsoft.operationalinsights/workspaces//providers/Microsoft.SecurityInsights/BusinessApplicationAgents/
Make sure to replace <AGENT_IDENTIFIER>, <SUB_ID>, <RESOURCE_GROUP_NAME> and <AGENT_IDENTIFIER> with the appropriate values for your environment.
Conclusion
This guide covered the necessary steps to deploy the Microsoft Sentinel agent for SAP on an OpenShift cluster. Ensure that all prerequisites are met and that the environment is properly configured before proceeding with the deployment.


